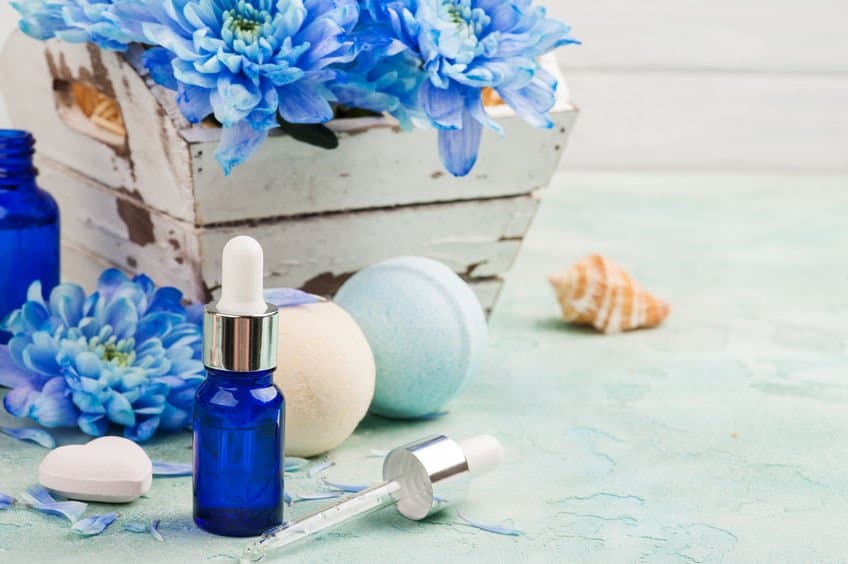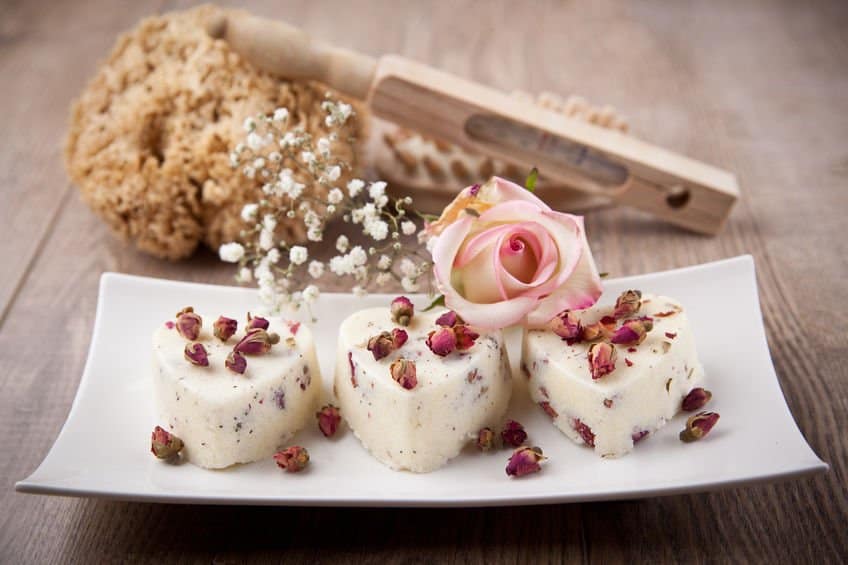
If you have been following bathing trends in recent years, you may have noticed that bubble baths are no longer the hottest thing in town. Lush bath bombs are the new best way to a long relaxing bath – a reward for making it through the day I would say…I’m sure you all know that a warm bath helps relax those stressed nerves and makes you cheerier!
While the two words (Bath & Bombs) hardly seem to go together, the phrase becomes obvious when you see the colorful fizzy explosion they make in water. Various cosmetic companies make those bath bombs ranging from fruity fizzy bombs, to ones bursting with essential oils to romantic ones with supposedly aphrodisiac effects. Why not?
But you do not need to buy one online every time you want to enjoy a colorful and fragrant bath. With most bath bombs costing upwards of $8, the costs can add up pretty quickly. At a much lesser cost and at least ten times the fun, you can make your own DIY bath bomb at home.
I have written this post to help you do exactly that and even included five bath bomb recipes that you can easily make at home. But before we get to that, it is important to understand the chemistry behind these color-bursting looking balls. So here is a primer on the various components of a bath bomb and how the whole thing works.
It’s All About The Chemistry
When a bath bomb ball is dunked into water, a chemical reaction is triggered between the different ingredients in it. Various components react in the presence of water to create the fizziness and a stream of psychedelic color patterns.
Bath bombs generally have a wide range of ingredients, including bath salts, coloring and fragrances amongst others. The two main components of a bath bomb are a weak acid and a bicarbonate base (e.g. baking soda).
The majority of recipes use citric acid as the acid and sodium bicarbonate as the base. When the bomb is placed in water, the citric acid reacts with the sodium bicarbonate and produces carbon dioxide. The release of this gas is what creates all the fizzing and bubbling you observe.
As we will see in one of the recipes below, you don’t always have to use citric acid. Of course, the acid and the base are not the only two ingredients in a bath bomb. A lush bath bomb for instance, will also contain colors, salts and essential oils. These extra ingredients are designed to create a dramatic addition to the reaction and offer various health and skin benefits.
Another common ingredient is cornstarch, which can make up the bulk of the bomb and is used to hold all the components together, basically acting as a filler in the bath bomb. Just like with citric acid, cornstarch is not a must in every recipe. I have a recipe that does not use cornstarch.
Once all the ingredients are combined together and the bath bomb placed in water, the chemical reaction starts immediately and produces a lot of bubbles which you see as the bath bomb dissolves. The amount of fizzing that takes place depends on the specific recipe used. As the acid and base react, gas is released and the bomb breaks down releasing its colors, essential oils and fragrance into the water and air.
Depending on the recipe, a bath bomb can set and instantly lift the mood for an amazing experience. What’s your preference – romantic, energizing or simply relaxing? Once you get the hang of making your own bath bombs, you will be able to come up with recipes to fit your mood or the occasion to suit.
Do Bath Bombs Have Any Benefits?
Bath bombs are not touted so much for their health benefits as for their effect on mood and emotions.
Depending on the type of bath bomb, it can make you happier, help you relax, spark some romance and so on. Honestly, even if there were no health benefits, isn’t this enough justification to use bath bombs. Don’t fret because the good news is that there are a few health benefits to look forward to when using a bath bomb. These benefits depend on the ingredients you have used.
For example, a bath bomb with essential oils can be beneficial to the skin and hair. It can moisturize and make your skin smoother and softer especially if you use it regularly. Some bath bombs also contain Epsom salts, which have been linked to various health benefits including pain relief and promoting relaxation and sleep.
Any Safety Issues Or Precautions To Be Taken When Using Bath Bombs?
Bath bombs are very safe, even for kids and the elderly. The citric acid and base are diluted to a great extent when they interact with the bath water.
However, just a word of caution – you need to be careful when buying some commercial bath bombs. Certain synthetic dyes and artificial fragrances can cause skin irritation, especially if you have sensitive skin or conditions like eczema and rosacea.
Therefore, it pays to look at the ingredient list for any component that may cause a problem. Look out for names like limonene and linalool, which are known skin irritants. And, double check the ingredients list to ensure that there is no component to which you are allergic.
Another common safety concern for women is the risk of yeast infection. Bubble baths have been known to affect the acid-base balance of the vagina, leading to infections. In saying this, bath bombs are generally considered safer because the components of the bath bomb are very much diluted. However, better be safe than sorry and once more, check the ingredients list before you make your purchase.
To avoid the above-mentioned issues and to be confident that your bath bomb is safe to use, a DIY bath bomb is the way to go. You have full control of the ingredients and proportions that go in it. So, how good would that be if you could make your own bath bombs.
Here are the recipes as promised.
7 Easy DIY Bath Bomb Recipes With Essential Oils

Each of these recipes is meant to be simple and easy enough to make on your own at home. I have provided all the necessary ingredients and step-by-step guide for each recipe.
Once you’ve decided on the one you are going to make, make sure you have the required ingredients on hand ready to go.
Find a large enough space, preferably the kitchen counter, to work on and make sure the kids will not disturb you. Don’t forget to keep paper towels handy to clean up any mess along the way.
For safety, I strongly recommend a pair of gloves especially that you’ll be dealing with acids and essential oils. In their concentrated form, they can both be irritating to the skin. It is highly recommended to wear a pair safety goggles and dusk mask when testing a bath bomb as you don’t want any constituents getting into your eyes and mouth/nose respectively. If you want to blend various essential oils for your bath bombs, you can read more about the best way to blend essential oils here.
Finally, do not use plastic bowls or spoons for mixing. You’ll need to use a glass bowl since it is non-reactive and will withstand the corrosive effect of acids and essential oils.
1. Bath bomb recipe without citric acid
If you cannot find citric acid at a store near you or if you prefer not using it, use cream of tartar as an alternative. Here’s what you need. Note that this recipe will produce two medium-sized bath bombs. You can change the size or number of bombs by increasing or decreasing the ingredients proportionately.
Ingredients:
- 2 cups baking soda
- 1/2 cup cream of tartar
- 1 cup cornstarch
- 1 cup Epsom salts or non-iodized table salt
- 15-20 drops essential oil (lavender, rosemary, peppermint, rose, eucalyptus, etc.)
- 2 tsp olive or coconut oil for moisturizing
- A drop or two of food coloring (optional)
Your choice of essential oil will depend on your ultimate goal. Lavender is great for relaxing, peppermint is perfect for an energizing bath, eucalyptus is good when you have a headache and so on. To keep everything well organized, keep the dry ingredients and the liquids separate.
Directions:
- Mix the dry ingredients in a glass bowl. These include baking soda, cream of tartar, cornstarch and salt. Mix them thoroughly using a whisk.
- Mix the liquid ingredients in a separate bowl and whisk them. These include the essential oil, moisturizing oil and food coloring.
- Gently add the liquid ingredients to the dry ones. With your gloves on (to avoid staining your hands), gently knead the doughy mixture. Add a spoonful of water if you feel more moisture is necessary. The final mixture should be able to hold together when formed into a ball.
- Pack the mixture in silicone molds and leave to set overnight.
- When the molds are set, your bath bombs are ready (generally takes 24 hours). Please allow to dry completely before removing them from the molds. Store them in an air tight container.
It is best to use the bath bombs within a few weeks. Keeping them for too long (say 3+ months) can allow moisture to seep in (and lose their fizziness in the process) and allow the essential oils to evaporate.
2. Bath bomb recipe without cornstarch
Cornstarch is a popular addition to bath bomb recipes. In addition to acting as a filler, it also helps to slow down the reaction and keep your bomb fizzing for longer. But if you prefer not to use cornstarch there are several alternatives.
One recipe involves increasing the amount of baking soda you use. In the first recipe above for example, you could use 4 cups of baking soda instead of two. But just note that the bomb will have a more aggressive reaction and die out sooner.
In my cornstarch-free recipe, you’ll need to replace the cornstarch with kaolin clay. It makes a single medium-sized bath bomb. Here’s what you need.
Ingredients:
- 1/2 a cup citric acid or 1/2 a cup cream of tartar
- 1 cup baking soda
- 1 tsp melted cocoa butter for moisturizing. You can also use olive or coconut oil.
- 2 tsp kaolin clay
- 15-20 drops of your preferred essential oil (tea tree, vanilla, grapefruit, ylang, ylang, etc.)
- Food coloring (optional)
Direction:
The directions are similar to those of the first recipe. Start by mixing the dry ingredients in a glass bowl, mix the wet ingredients in another bowl and then combine them. Once you have kneaded it to a crumbly texture, leave it to set in a mold for several hours.
3. Bath bomb recipe without epsom salts
Epsom salt is another popular ingredient in both DIY and commercial bath bombs. Epsom salt is actually a mineral known chemically as magnesium sulfate and has been associated with various health benefits.
If you prefer not to include it in your bath bombs, there are plenty of recipes that don’t require it. Our second recipe above is a good example. You can also use the first recipe and leave out Epsom salt. Here is another Epsom salt-free bath bomb you can make at home. It will make 4 large bombs.
Ingredients:
- 500g baking soda
- 225g citric acid
- 225g cornstarch
- 175g Shea butter
- 6 tablespoons almond oil
- 6 tablespoons coconut oil
- 10-15 drops of your preferred essential oil (vetiver, lemon, geranium, cedarwood, etc.)
- Food coloring (optional)
Directions:
This bomb is meant to be super moisturizing. That is why I add two moisturizing oils and Shea butter. As usual, start with the dry ingredients in one bowl and the wet ingredients in another bowl. Be sure to melt Shea butter before adding it to the liquid ingredients. Combine the two, place in molds and leave to set overnight.
4. Bath bomb recipe for kids
Most bath bombs are safe for kids. To avoid the risk of skin irritations, especially with their soft and sensitive skins, I recommend making your own kids bath bombs at home. Here is a good one you can make today.
Ingredients:
- 1 cup citric acid
- 1 cup baking soda
- 1/2 cup olive oil
- 1/2 cup cornstarch
- Food coloring (this is optional but they would love some color, in fact multiple colors).
- 5-6 drops essential oil (lavender, sweet orange, mandarin, chamomile)
- A small pearl, plastic flower or plastic toy.
Directions:
As with other recipes, follow the usual directions. When you are done kneading the mixture, create balls with the small pearl, flower or toy tucked inside. Just make sure not to use toys for kids under 3 years old just in case they could swallow it. The above essential oils I proposed are all safe for kids.
When the bomb has fizzled out, kids love the pleasant surprise of finding something inside. As for the color, you can add several food colors to create a fun colored cloud in the water.
5. Lush recipe bath bomb
If at all possible, I know some people would live in a lush store, taking a bath every day with one of the heavenly scented bath bombs. But at $8+ a pop, they are not exactly cheap. So here’s a recipe that will get you as close as possible to an original lush bath bomb. This is an incredibly delightful bath bomb, which will give you an out-of-this-world experience.
Ingredients:
- 1 cup citric acid
- 1 cup baking soda
- 1/2 cup cornstarch
- 5-6 drops jasmine essential oil
- 5-6 drops ylang ylang essential oil
- 8-10 drops sandalwood essential oil
- 4 teaspoons of soy milk
Directions:
Follow the usual directions, mixing dry and wet ingredients separately and then bringing them together. The combination of various oils creates a really elegant and romantic fragrance. The soy milk results in a smooth sexy texture once the bomb has fizzled out in the water. This is the ultimate lush bath bomb.
6. Bubble bath oil
Ingredients:
- 1/2 cup apricot kernel oil
- 1 /4 cup glycerin
- 1/4 cup pure castile liquid soap
- 5-6 drops lemon or patchouli essential oil
Directions:
Mix all the above ingredients thoroughly and store in a glass jar. You can use for 2 baths, simply add to warm running water and soak yourself in to unwind.
7. Foamy bath melt
Ingredients:
- 1 cup baking soda
- 2 tsp cornstarch
- 2 tsp mango butter
- 2 tsp shea butter
- 3 tsp citric acid
- 3 tsp sodium lauryl sulfoacetate (SLSA)
- 25 drops essential oil (clary sage, lavender, ylang ylang, etc.)
Directions:
Mix the baking soda and cornstarch. Melt the butters and add to the baking soda/cornstarch mix. After mixing, add the essential oil and any coloring, then add citric acid and SLSA. Place into molds and into in your freezer for 2 hours (it should be solid before you remove them). Take out of mold and set out to dry for 48 hours.
Caution:
You should avoid using sodium lauryl sulfate…you can read more here.
Conclusion
Making bath bombs at home has never been easier. Most of the above ingredients are easy to get. If you cannot find something at the local store, try online. These DIY recipes are fun to make and will save you a bundle in the long-run!


